
How to Make a Smithing Table in Minecraft - Complete Guide
Minecraft, the immensely popular sandbox game developed by Mojang Studios, offers players a world of endless possibilities. Whether you're a seasoned player or just starting out on your block-building journey, there's always something new to discover and create. One essential aspect of Minecraft is the ability to craft various tools and items that enhance gameplay. And when it comes to enhancing your arsenal of crafting options, the smithing table is a must-have.
The smithing table is a versatile tool that allows players to modify and upgrade their weapons and armor. With its unique features and functionalities, it adds an extra layer of depth to the game's Survival Mode. However, figuring out how to make a smithing table can be a bit confusing for beginners. That's where this complete guide comes in handy.
In this guide, we'll walk you through everything you need to know about crafting and using a smithing table in Minecraft. From gathering the necessary materials to understanding its purpose and potential upgrades, we've got you covered. So, grab your pickaxe and let's dive into the world of smithing tables in Minecraft!
What is a Smithing Table?
A Smithing Table is an essential tool in the popular sandbox game, Minecraft. It plays a crucial role in the game's Survival Mode, allowing players to modify and upgrade various items. This unique crafting station offers a range of possibilities for enhancing weapons, armor, and tools to improve their durability and effectiveness. Whether you're a seasoned player or just starting your Minecraft adventure, understanding the purpose and functionality of the Smithing Table is key to mastering the game. In this guide, we will delve into the intricacies of the Smithing Table, exploring its features, crafting recipe, and practical applications within the Minecraft universe.
What is a Smithing Table?
The Smithing Table is a specialized workstation that facilitates item modification and upgrading in Minecraft. It serves as a crucial component for unlocking new enchantments and improving existing gear. This table provides players with the means to combine two items, such as weapons or tools, to create more powerful versions with enhanced attributes.
In addition to its functional aspects, the Smithing Table also adds depth and realism to the gameplay experience by simulating the process of blacksmithing. It aligns with Minecraft's emphasis on creativity and customization, allowing players to tailor their equipment according to their specific needs and playstyle.
As you embark on your journey in Minecraft, understanding how to craft and effectively utilize a Smithing Table will prove invaluable. Let's dive into the materials needed and crafting process required to create this essential tool.
Keywords: smithing table, Minecraft
Materials Needed
To craft a Smithing Table in Minecraft, you will need specific materials. These materials are essential for creating this valuable item that allows players to customize and enhance their tools and weapons. The crafting recipe for a Smithing Table is straightforward, requiring just a few key ingredients. Here's a breakdown of the materials needed to make a Smithing Table:
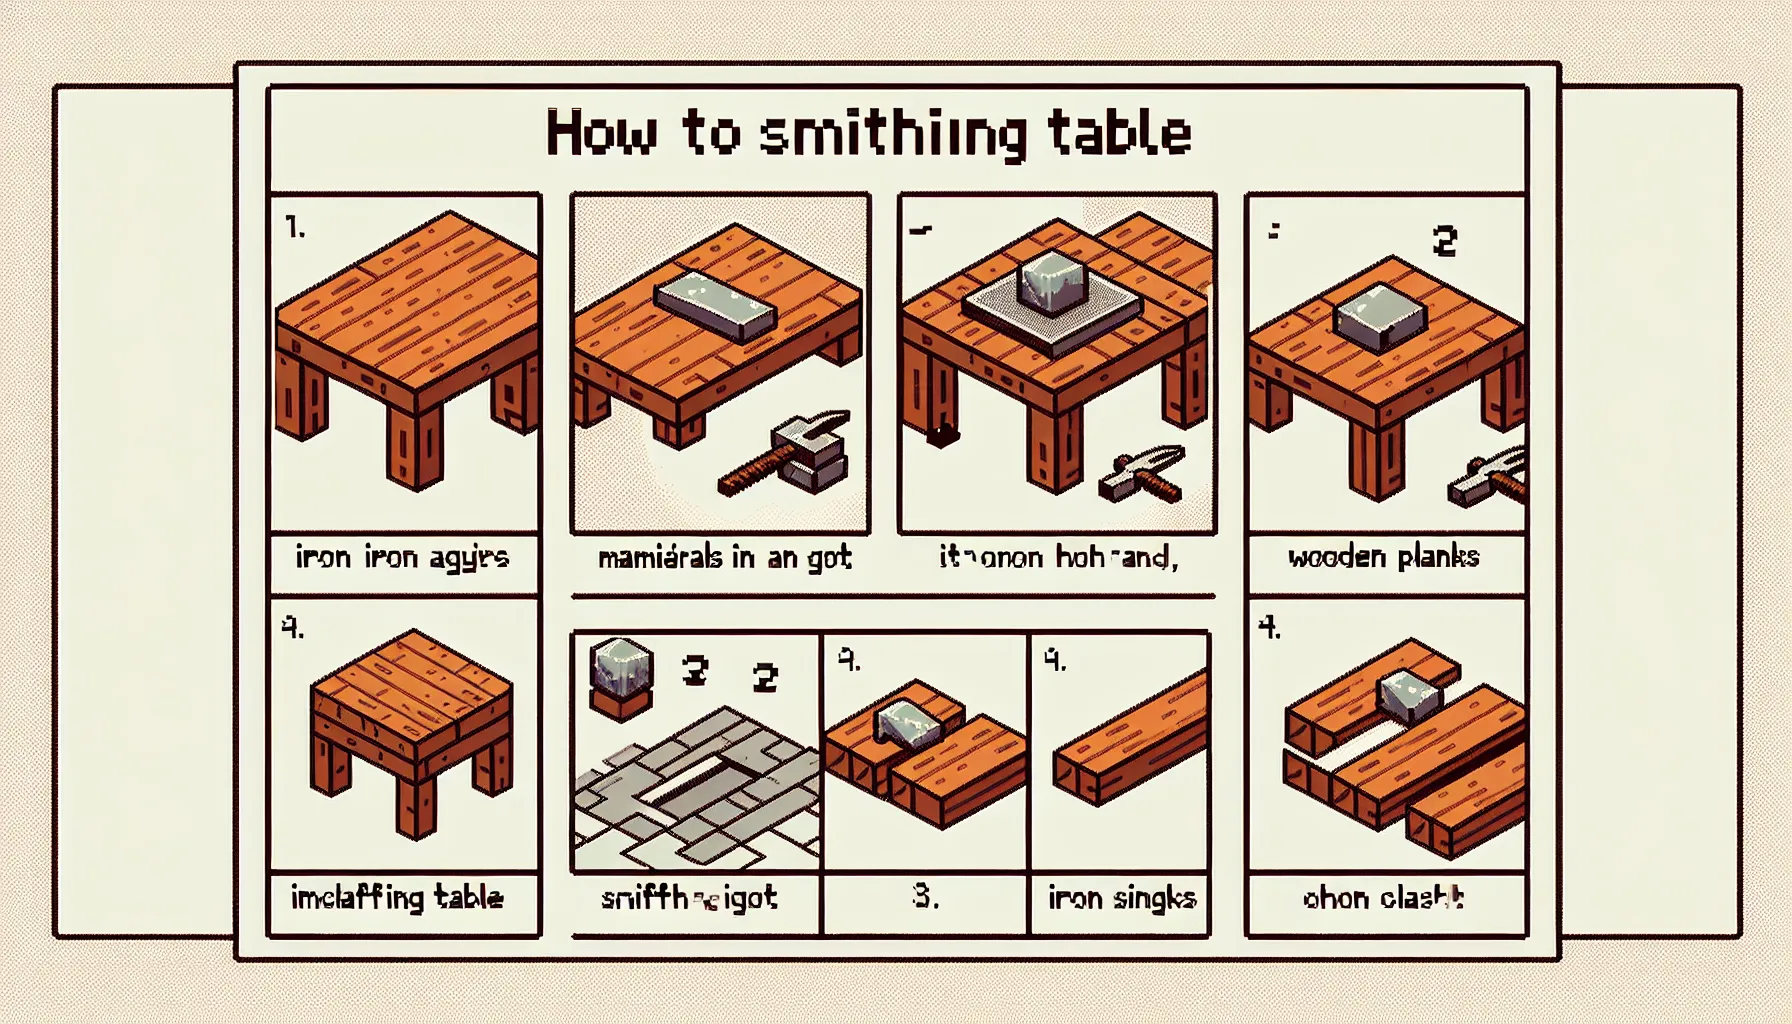
- Four planks: Any type of wood planks can be used to craft a Smithing Table. This includes oak, birch, spruce, jungle, acacia, or dark oak planks. You will need four planks in total.
- Two iron ingots: Iron ingots are obtained by smelting iron ore in a furnace. You will need two iron ingots for crafting the Smithing Table.
Once you have gathered these materials, you are ready to proceed with the crafting process. The combination of planks and iron ingots will allow you to create your very own Smithing Table in Minecraft.
Crafting a Smithing Table
A Smithing Table is a useful tool in Minecraft that allows players to enhance and modify their weapons and armor. To fully utilize its capabilities, it's important to understand the crafting process involved in creating a Smithing Table.
Crafting a Smithing Table
To craft a Smithing Table, you'll need the following materials:
- 4 wooden planks: These can be made by placing wooden logs in a crafting table, resulting in four wooden planks of the same type.
- 2 iron ingots: Iron ingots are obtained by smelting iron ore in a furnace.
Once you have gathered the necessary materials, follow these steps to create your Smithing Table:
- Open your crafting table: Right-click on a placed crafting table or press E to open your inventory and access the crafting grid.
- Arrange the materials: In the 3x3 crafting grid, place the 4 wooden planks in the outermost slots of the top and bottom rows. Then, place the 2 iron ingots in the middle slot of the middle row.
W W W W I W W W W- W represents wooden planks.
- I represents iron ingots.
- Retrieve your Smithing Table: Once you have placed all the materials correctly in the grid, you will see a Smithing Table appear in the result box. Simply drag it into your inventory to complete the crafting process.
Congratulations! You have successfully crafted a Smithing Table in Minecraft. Now, let's explore how to use this valuable tool for enhancing your gear.
Please note that using a Smithing Table requires an understanding of Minecraft upgrades and compatible items. For more information on how to make the most out of your newly crafted Smithing Table, continue reading our guide.
Using the Smithing Table
The Smithing Table in Minecraft is a versatile tool that allows players to enhance their weapons and armor. By using the Smithing Table, players can combine items to create powerful upgrades and customize their gear to suit their playstyle. In this section, we will explore how to effectively use the Smithing Table and make the most of its capabilities.
Using the Smithing Table
To begin using the Smithing Table, you need to have it placed in your Minecraft world. Once you have crafted a Smithing Table, you can simply right-click on it to open the interface. This will bring up a grid where you can place your items for upgrading.
Upgrading Weapons and Tools
One of the main uses of the Smithing Table is to upgrade weapons and tools. To do this, you will need two items: the base item that you want to upgrade and the material that you want to use for the upgrade. For example, if you have an iron sword and want to upgrade it with a diamond, you would place the iron sword in one slot and the diamond in another slot of the Smithing Table.
Once both items are placed in the Smithing Table, a new item will appear in the result slot. In this case, you would get an upgraded version of your sword with increased durability and damage. It's important to note that not all combinations of items are valid for upgrading. Experimentation is key to discovering powerful combinations.
Customizing Armor
In addition to upgrading weapons and tools, the Smithing Table can also be used to customize armor. By combining two pieces of armor of the same type, players can create unique pieces with enhanced attributes. For example, combining two iron helmets may result in a helmet with increased protection or special enchantments.
Similar to weapon upgrades, placing both pieces of armor in the Smithing Table will yield a customized version in the result slot. This allows players to tailor their armor to specific situations or preferences, making them more effective in combat or exploration.
Enchantments and Compatibility
It's worth noting that using the Smithing Table for upgrades does not preserve any existing enchantments on the base item. However, if the material used for upgrading has enchantments, those enchantments will carry over to the result item. This opens up opportunities to create powerful gear with multiple enchantments.
Furthermore, compatibility between items is essential when using the Smithing Table. For example, combining a diamond sword with an iron sword will not work since they are different types of weapons. It's important to ensure that both the base item and the material used for upgrading are of the same type.
By utilizing the Smithing Table effectively, Minecraft players can take their gameplay to new heights. Whether it's upgrading weapons for increased damage or customizing armor for enhanced protection, this versatile tool offers endless possibilities for enhancing your Minecraft experience. Experiment with different combinations and discover unique upgrades that suit your playstyle.
Smithing Table Tips and Tricks
The Smithing Table is a valuable tool in Minecraft that allows players to enhance and modify their weapons and tools. While its primary function is to combine enchantments and repair items, there are several tips and tricks that can help you make the most out of this versatile block. Whether you're a beginner or an experienced player, these tips will provide you with insights on how to optimize your gameplay using the Smithing Table.
1. Experiment with Different Combinations One of the key advantages of the Smithing Table is its ability to combine enchantments from different items. Take advantage of this feature by experimenting with various combinations to create powerful weapons and tools. Try combining enchantments like Sharpness, Knockback, or Fire Aspect to maximize your damage output or combine Efficiency and Unbreaking for longer-lasting tools.
2. Repair Items Efficiently Repairing items can be costly, especially when using an anvil. However, the Smithing Table offers a more cost-effective solution. Instead of using diamonds or other rare resources, you can repair your items using materials related to the item being repaired. For example, repairing a pickaxe requires additional iron ingots, while repairing a sword requires additional wooden planks or sticks. This way, you can save valuable resources while keeping your tools and weapons in top shape.
3. Use the Smithing Table for Netherite Upgrades Netherite is one of the most powerful materials in Minecraft, and upgrading your diamond gear to Netherite can significantly boost its durability and strength. The Smithing Table plays a crucial role in this process as it allows you to upgrade diamond armor and tools to Netherite variants. Simply place your diamond gear in the left slot and a Netherite Ingot in the right slot of the Smithing Table interface to perform the upgrade.
4. Combine Mending with Other Enchantments The Mending enchantment is highly sought after in Minecraft as it automatically repairs your items using experience orbs. To make the most of this enchantment, combine it with other useful enchantments on the Smithing Table. For example, combining Mending with Unbreaking or Efficiency can ensure that your tools remain functional for longer periods without needing constant repairs.
5. Utilize Villager Trading Villagers in Minecraft often offer valuable trades, including enchanted books and items related to the Smithing Table. Take advantage of these trades to acquire rare enchantments or necessary materials for crafting and upgrading your Smithing Table. By establishing a trading system with villagers, you can expand your resources and enhance your gameplay possibilities.
These tips and tricks will help you become a master of the Smithing Table in Minecraft. Experiment with different combinations, repair items efficiently, upgrade to Netherite, combine Mending with other enchantments, and utilize villager trading to unlock the full potential of this versatile block. With these strategies in your arsenal, you'll be able to craft powerful weapons and tools that will aid you on your adventures in the vast world of Minecraft. In Minecraft, the smithing table is a valuable tool that allows players to enhance their weapons and tools, giving them an edge in their adventures. By following the crafting recipe and gathering the necessary materials, you can easily create your own smithing table. Once crafted, it opens up a world of possibilities for upgrading your items.
Throughout this guide, we've explored the process of making a smithing table step by step. We've discussed the materials needed and provided a clear crafting recipe to follow. Additionally, we've delved into how to use the smithing table effectively, highlighting its role in upgrading weapons and tools.
By mastering the art of using the smithing table, you can take your gameplay to new heights. Whether you're looking to increase damage, add enchantments, or simply customize your gear, this versatile tool has got you covered.
Remember, experimentation is key when it comes to utilizing the smithing table. Don't be afraid to try out different combinations and see what works best for your playstyle. With practice and creativity, you'll soon become a master blacksmith in the world of Minecraft.
So go ahead, gather your resources, craft your own smithing table, and unlock endless possibilities for enhancing your gameplay experience. Happy crafting!